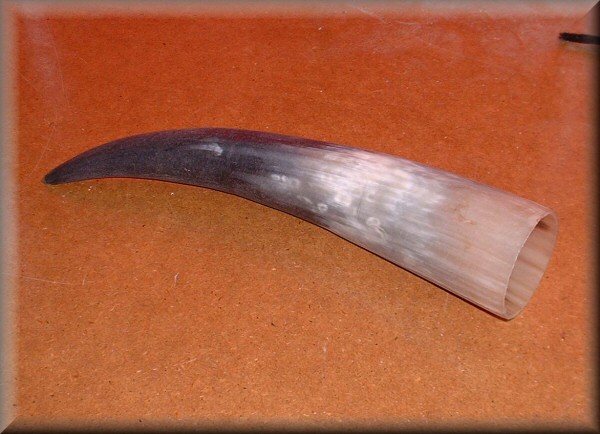
(20 May 2008) I'm planning to get some birch for the pipe itself, but for now i'm starting on the horn. I'm excited because i've never worked with it before.
This horn is about a foot long, and i need about 3.5 inches worth for the bell of this pipe.
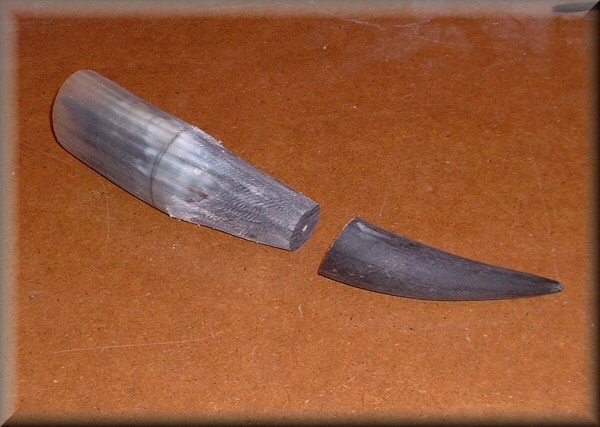
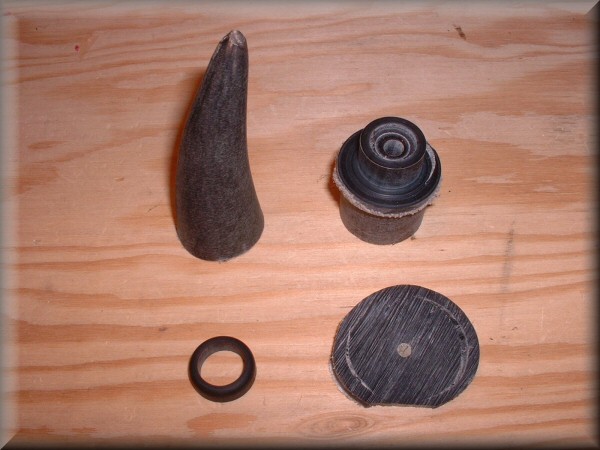
(20 May) The horn is not hollow all the way up. I figure it'll be easier to shape down the outside rather than open up the inside, so i've cut away the solid top part, and will carve down a new cone to follow the existing hollow.
So far i'm mostly using a really aggressive wood rasp, and the horn cuts like butter. It does smell a little funny, but it's not too objectionable. (I was actually expecting worse.)
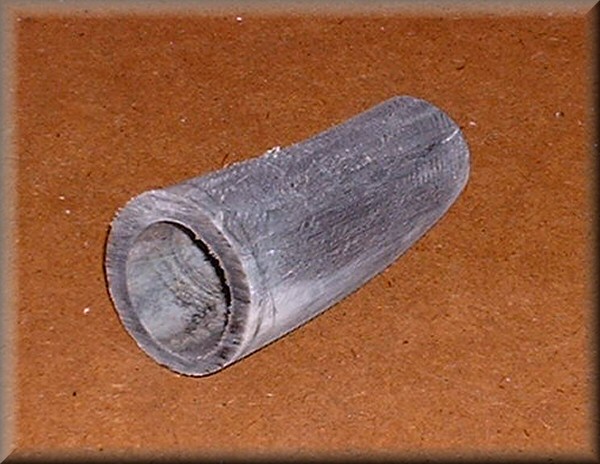
(21 May) I've cut it to the length i need. (This is the middle section of the horn.) The walls are really thick - i want to get them down to something like 1/16" at the edge. So there's a lot of material to remove. It's like sculpting - somewhere inside this horn is the bell i need, and i "just" need to remove everything that isn't part of it.
Workholding a conical piece like this is kind of weird. I've gotten pretty good at using wood shims to help hold it in the vise while i'm using the rasp.
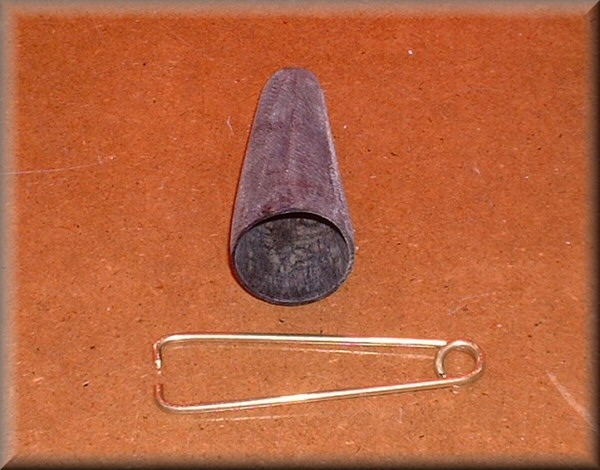
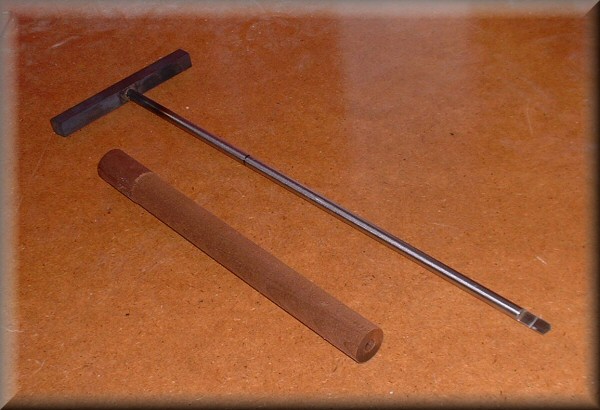
(22 May) Getting closer. I've made a little brass tool to help gauge the wall thickness.
Also, at the top end, i've drilled out a 1/2" hole for mounting on the end of the pipe.
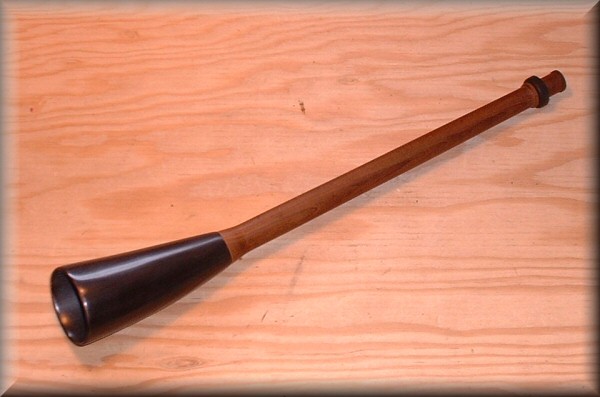
(22 May) All done! This stuff really is fun to work with, and finishes beautifully. Once i had the walls down to the thickness i wanted, i used a file to clean away the deepest scars from the rasp, and then started with coarse emery cloth, working up to 400 grit. Then a couple of finer abrasive pads, finishing up with tripoli compound on a buffing wheel. (I also sanded the inside to 400 grit, but obviously can't get my buffing wheel in there.)
If you think about horn being basically the same stuff as fingernail, it behaves about the way you'd expect, and buffs up to a nice shine.
Here the bell is mounted on a piece of scrap, which i made just to mock up the size and fit of the top end.
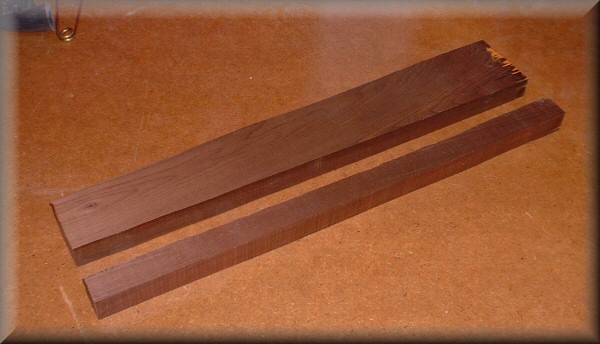
Believe it or not, this is birch. It's been roasted, caramelizing the sugars in the wood. The process turns it a rich brown throughout, and also apparently makes the wood more stable and resistant to rot.
Both these features will be nice for a mouthblown pipe.
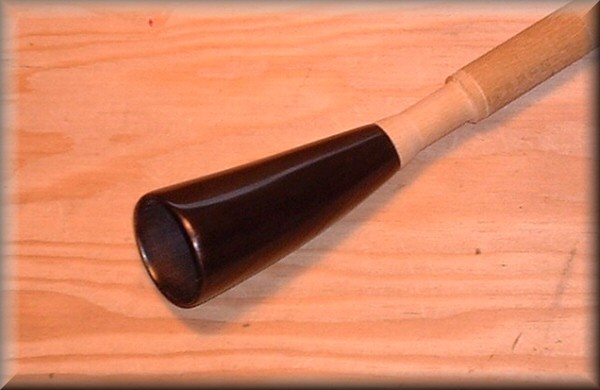
Here it is with the outside turned and all put together. Next up are the fingerholes, then finishing the wood.
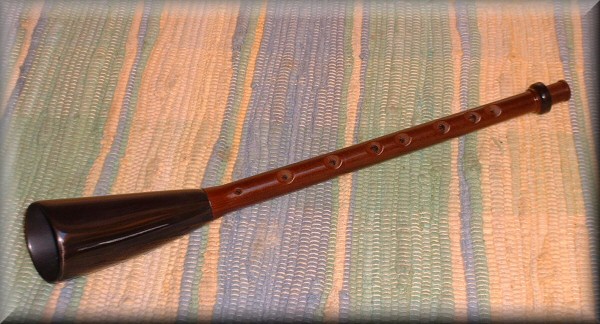
(14 June) The fingerholes are in and the finish is on - that's it for the main construction!
Next up is the reedcap, then a reed and fine tuning. It should be interesting.