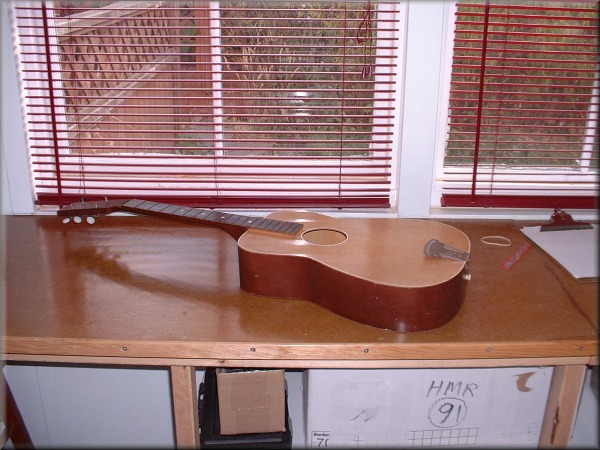
Here is my sacrificial guitar. I bought it for $3 on eBay. It's actually the perfect guitar for my purpose. It's got a tailpiece and floating bridge (which is missing), which means it's got "ladder" style bracing under the soundboard, meaning i don't have to cut through any braces to make the slot for the wheel.
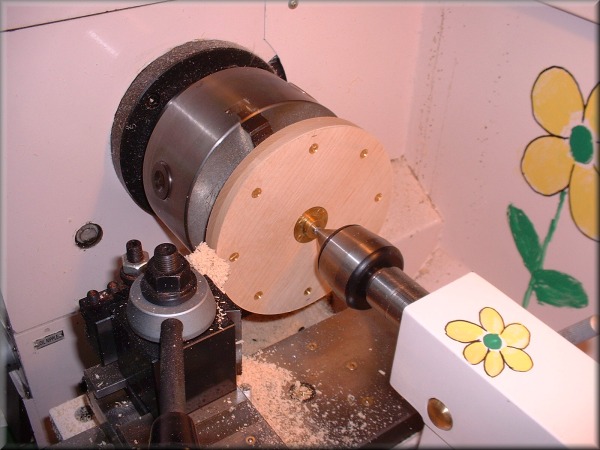
Here is the wheel being turned on the lathe. My wheel is made of 2 layers of hard maple, glued with the grain crosswise between layers. This should help mitigate any shrinking/swelling tendencies due to humidity changes, which would tend to make the wheel go oval. The 2 layers are glued and screwed together, just based on the premise that nothing can be too strong.
You can see the brass flange in the centre of the wheel. It incorporates a setscrew that will hold the wheel onto the shaft.
The wheel measures about 6 1/8" in diameter, which is within the range of traditionally-made instruments.
(This was supposed to be an "action" shot, with lots of cool motion blur, but my camera is apparently faster than my lathe.)
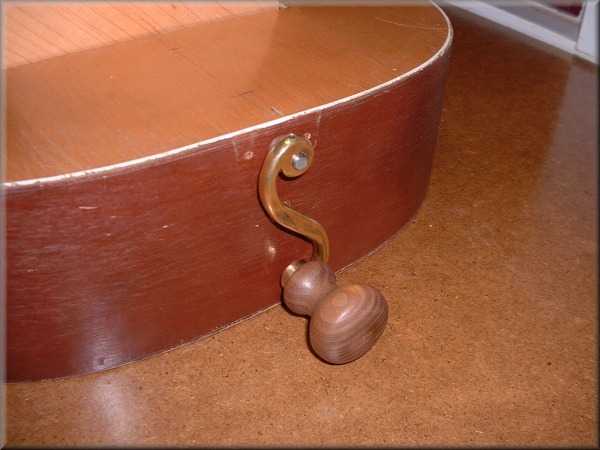

This is the project as of 18th August 2003. The 1/4" tool-steel shaft is mounted in brass sleeve bearings, and turns very freely and (i hope) acceptably quietly. There's no appreciable wobble or play in the shaft or wheel.
Next step is the tangent box, which seems like the scary part.
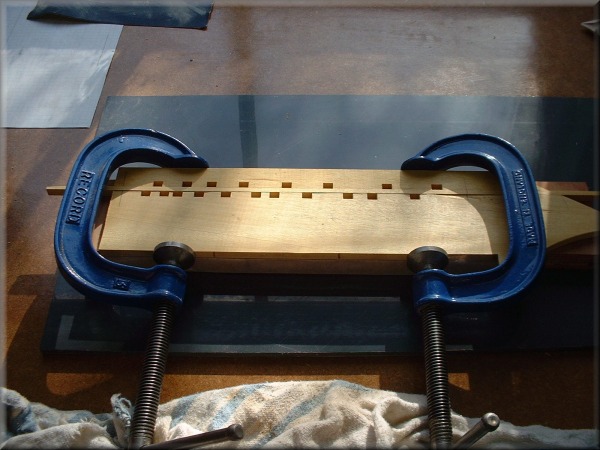
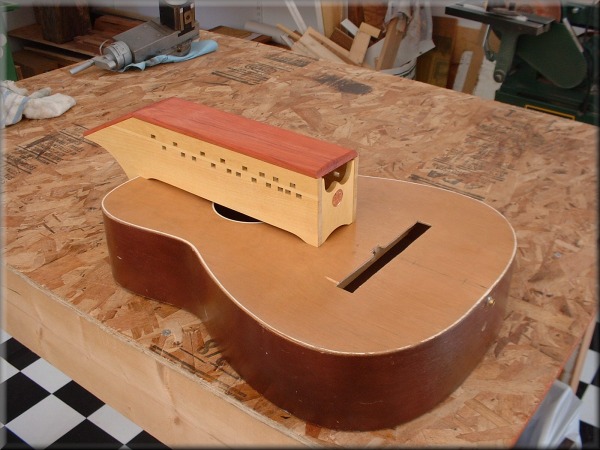
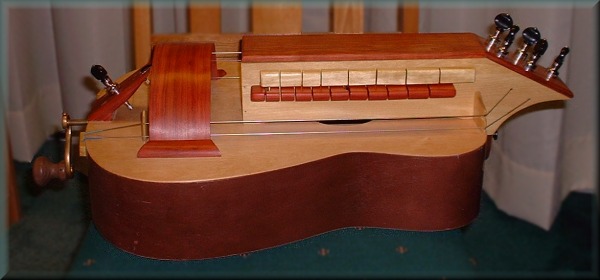
(1 Sept) I've cut and sanded the tangent box sides, and fit them to the soundbox. (All this is just dry fit, nothing is glued in place yet.) I've made the tail-end panel for the tangent box, and inlaid a 2003 penny, which serves to mark the date and also reminds me (as if anyone needed any reminder) that this is a kind of a "penny-gurdy," as it were. The sides and end panel have mostly been raised up off the soundboard and are sitting on "feet" left at the ends. The peghead panel and tangent box lid are made of redheart.
The wheel has been removed while i work on the rest of the construction, so it doesn't get any bumps or nicks.
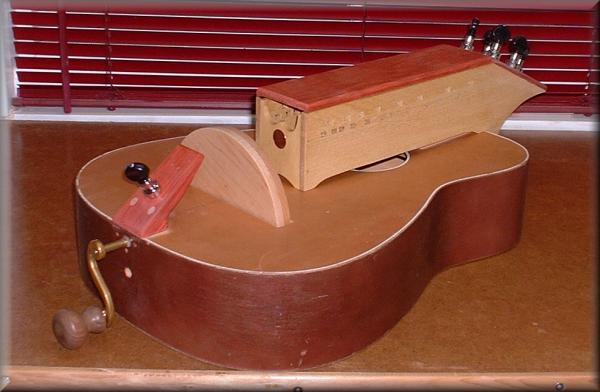
(3 Nov) The tangent box has been glued together and the lid hinge installed. The tuning machines are planetary geared banjo tuners, which should be easier to live with than traditional friction pegs. The tailpiece is in place, attached with glue and maple dowels, and it also has a geared peg for the tirant string.
This is starting to look like something.
(12 Nov) Despite my best-laid plans, my wheel warped! Sheesh! So i've made a new one from PVC. I've learned that plastic wheels aren't entirely unheard of, and this should have better long-term stability than wood.
I've added the tailpiece blocks for the trompette and bourdon strings, and made the bridge and nut "ear" for the bourdons. The string notches aren't full depth yet, but i've strung them with nylon to check the bridge/nut alignment and to locate the holes which let the strings into the peghead.
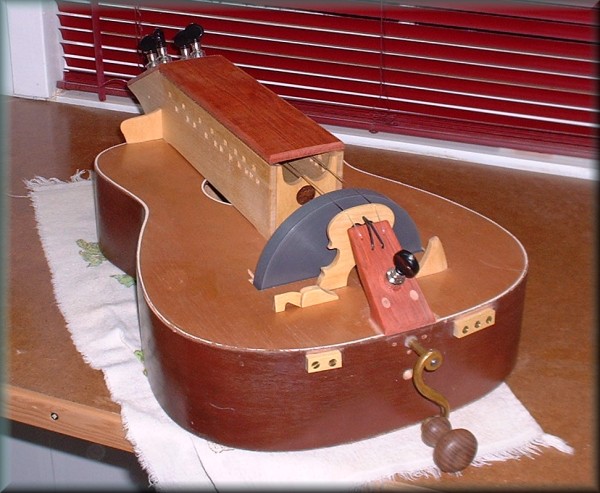
(3 Dec) All the bridges and nuts are made. I took the shape of the melody string bridge from the profile of a violin, stretched wider. I've strung them up with nylon to check the alignment and string notch positions.
This picture also shows the 2nd "ear," this one for the trompette string. The bridge for this string is in two parts, with the "dog" free to vibrate against the soundboard.
Now there's no more excuse for not making the keys and tangents.
(11 Jan 2004) Yet another wheel! This one is made from "garolite," a paper-based composite material which is very stable, and also has some fibers to hold the rosin better than the plain plastic. (It's a theory, anyway.) It does look more like wood though - that grey PVC was a bit unfortunate.
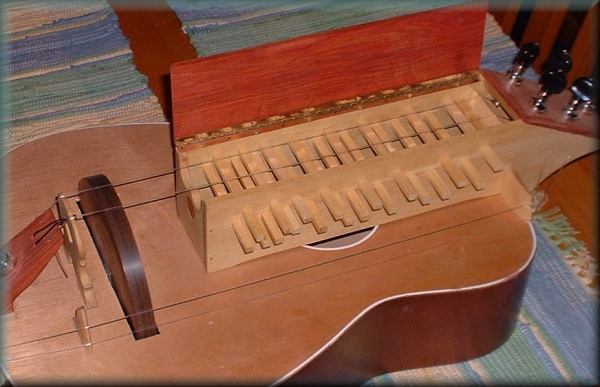
I've also made all the key shafts. It was pretty straightfoward (if a bit tedious) to get each shaft to have a nice sliding fit through the tangent box.
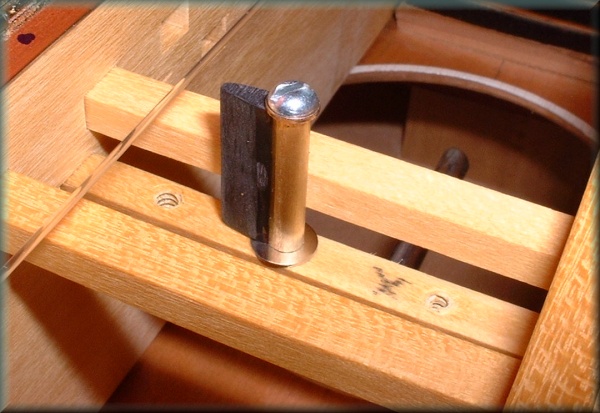
(30 Jan) Here is a view of one tangent on a key shaft. It's made of ABS plastic epoxied onto the side of a piece of thin brass tubing. The tubing is a close fit on the screw that holds it down. This way, i don't have to deal with friction-fitting the tangents, and the whole thing is still skinny enough to fit in between the highest keys (which are very close together.)
There's 38 of these in total.
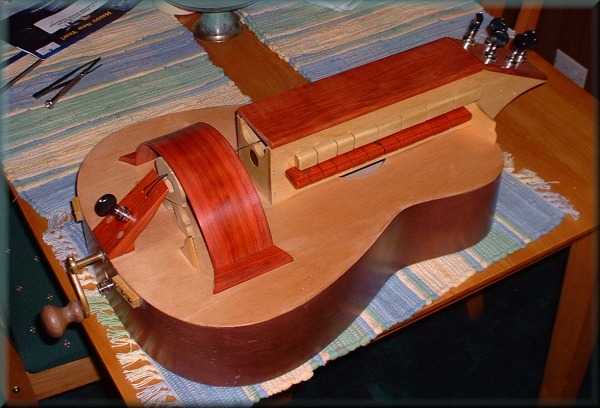
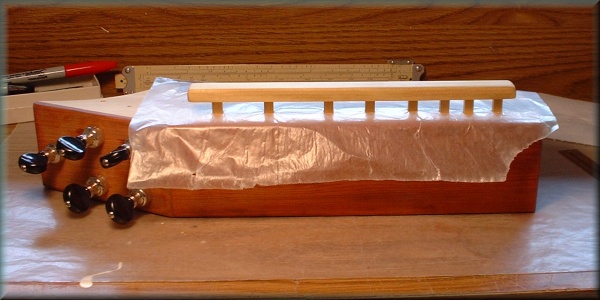
(4 Feb) I've got the wheel cover made up! As i wrote earlier, i wanted to try and avoid getting into bending wood, so i enlisted the very kind help of Brock Radelet, a local luthier, for bending this one piece.
...And that's it for the actual construction! Now on to stringing and tuning...
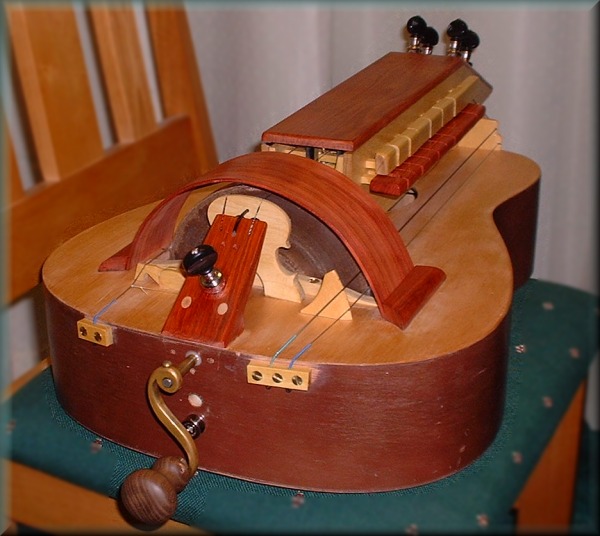
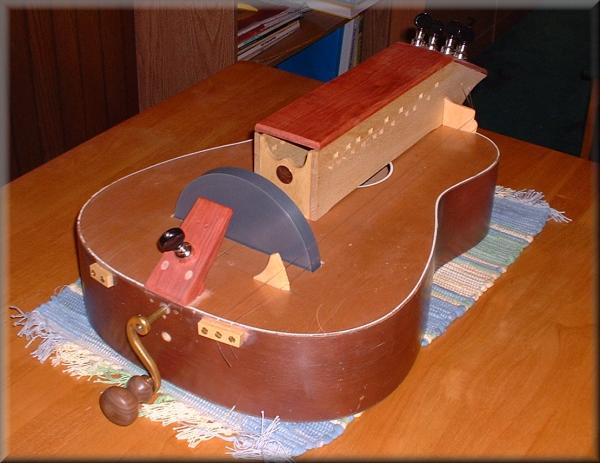
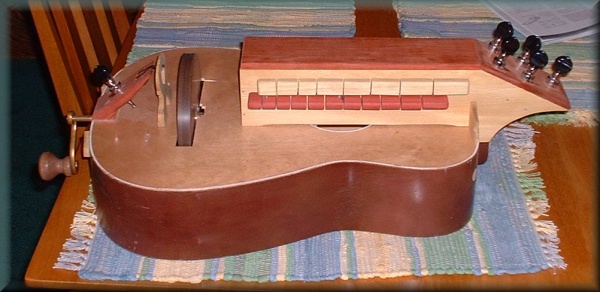
(12 Feb) Ok, so there was one more thing to add: a brace to reinforce the wheel slot, right in front of the bridges. Without the brace there, the soundboard tends to cave in under the tension of the strings. With the brace installed, the bridge stays stable while tightening the strings up, making it much easier to get the string action correct over the wheel.
And that's it!
Just about exactly 6 months. Of course, it'll never really compare to a professionally made instrument, but i think it sounds great! (especially for a first try. :-)
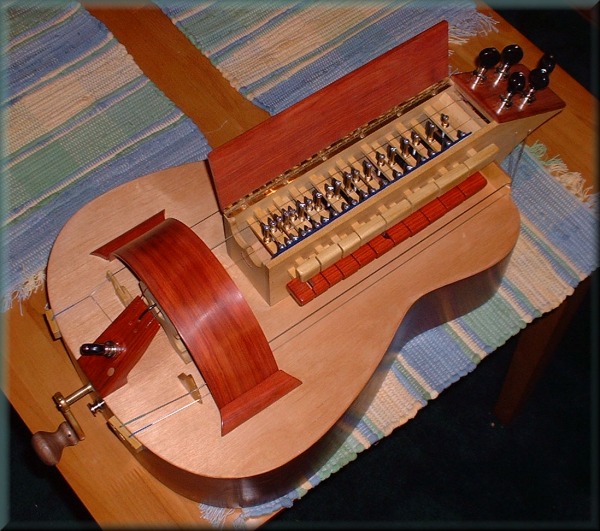
...And one more view of the completed instrument.
The next challenge is to learn to play it!
I'll be adding a sound sample once i have a couple of tunes under my fingers... :-)