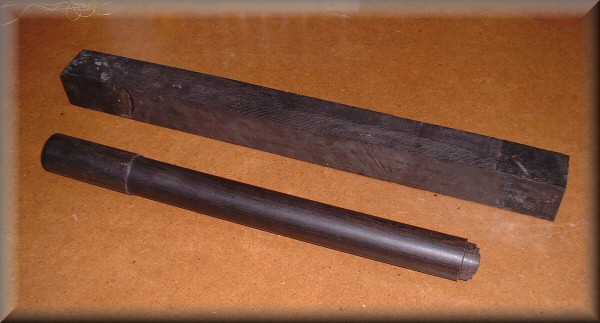
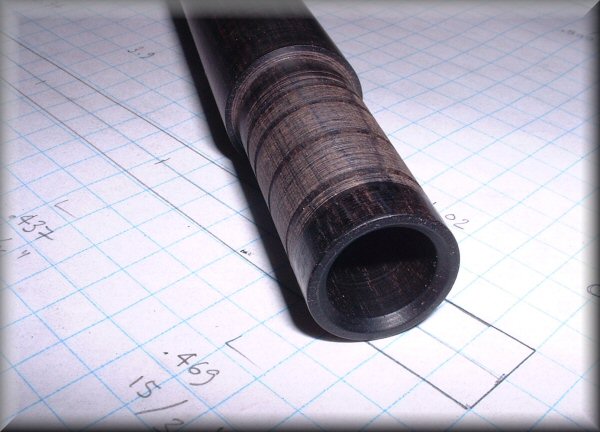
(7 August 2008) Here is the obligatory "before" photo. These are African Blackwood, which was a specific request from Dave. I've actually not used blackwood before, and i now understand why it's considered the king of turning woods. This is going to be fun!
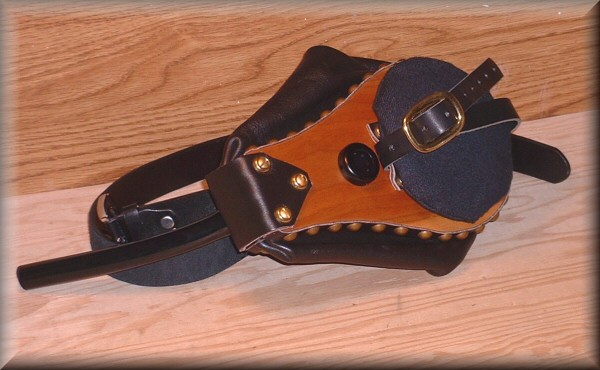
Here is the bellows all done. (I find these fairly intensive to make, so i've made up a batch of five.) The boards are cherry, and the inlet valve housing is made to match the pipes, blackwood in this case. The outlet hose is black tygon, which friction-fits over the wooden blowpipe. I like this system because it's easy to modify for the player's size: since there's no machined fitting on the free end of the hose, you just cut it to length. I've used this kind of blowpipe arrangement on my own pipes for years, and it works great.
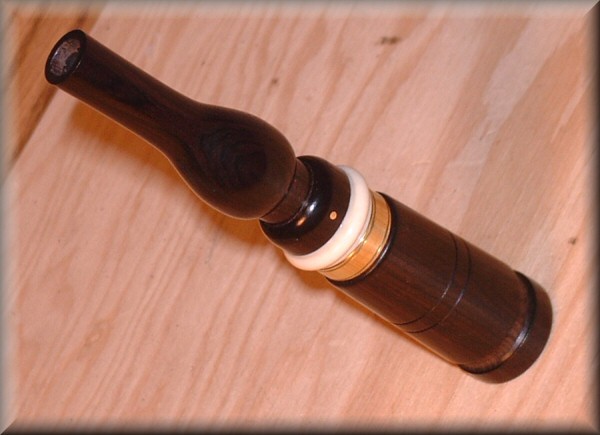
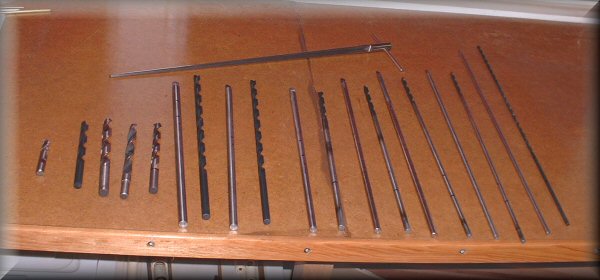
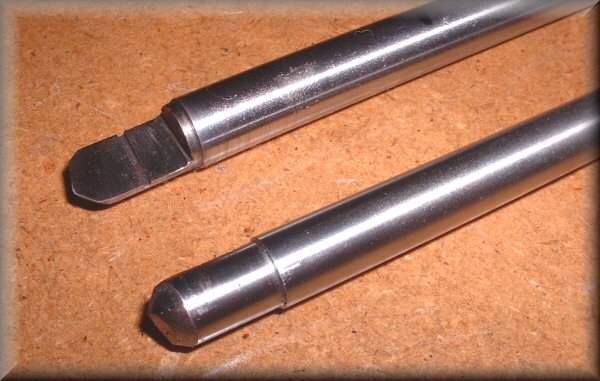
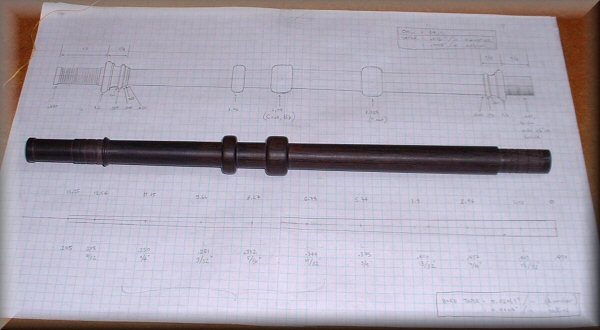
Here's the chanter blank after pilot boring. I used a 3/16" gundrill for this, mainly because it drills so straight and easily.
This is the first time i've used blackwood, and it seems to have this tendency to clog the flutes of drills, which it even did to my gundrill! All of a sudden, the air slowed down and stopped coming out the flute, so i pulled the drill out to find a solid plug of blackwood dust which i then had to chip out. I suppose it's related to the very properties that make blackwood so desireable for instruments in the first place: it's so dense and uniform and naturally oily.
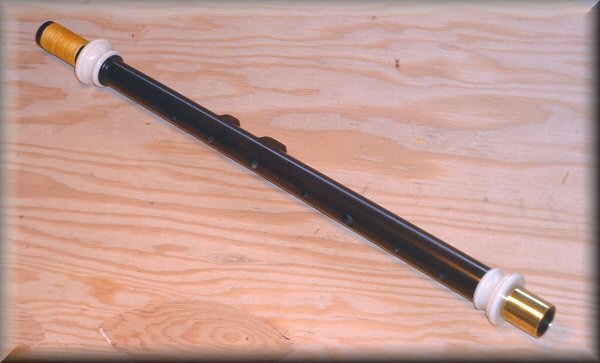
(11 Nov) The back C key is on! That's it for construction except for the chanter stock, and that has to wait until the bag arrives from L&M.
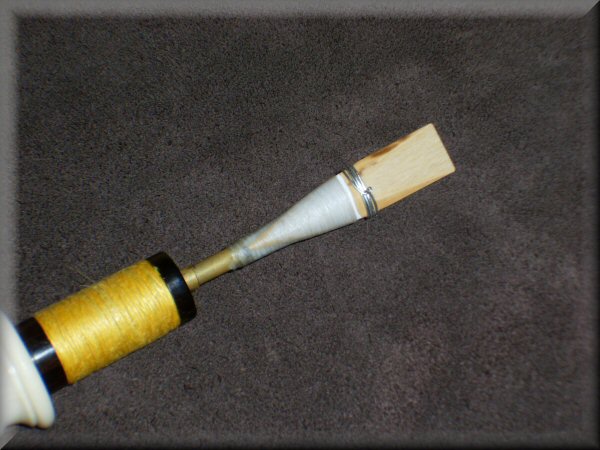
So all i can do now is work on reeds. Fun fun fun.
(2 Feb 2009) Wow - sorry about the delay! I had some medical issues earlier this winter, which kept me away from the workshop.
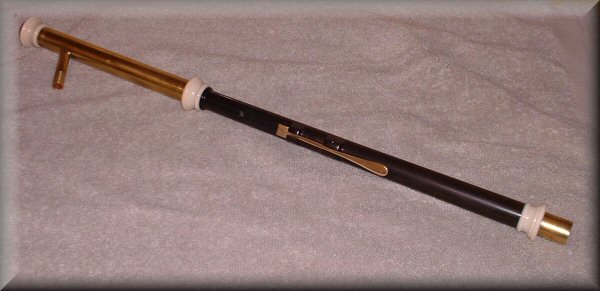
Anyway, back in the saddle. The chanter is reeded and playing well. I feel like i'm turning the corner with reedmaking (well, A corner, anyway.) I've made some major adjustments to my technique, and it seems to be paying off so far.
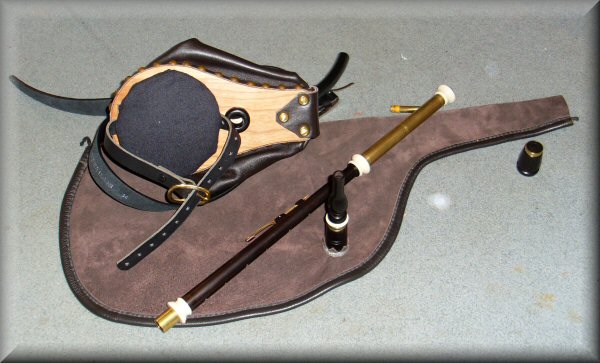
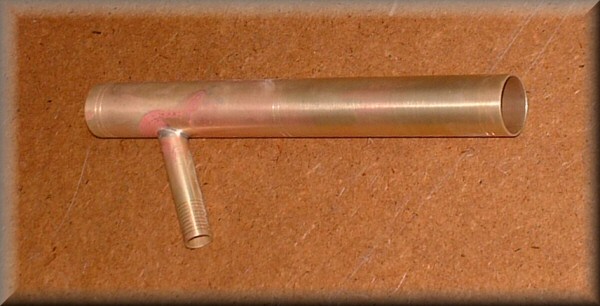
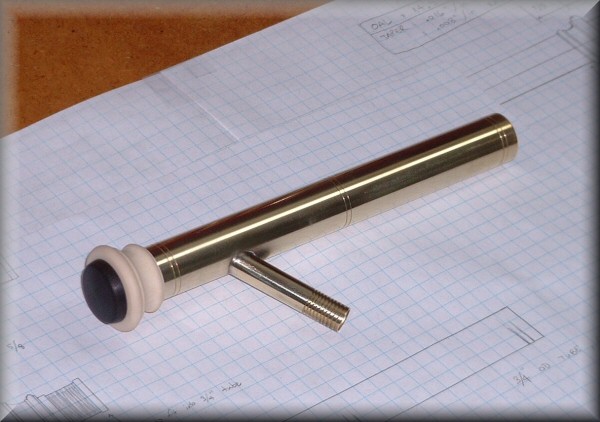
Here's the story so far. The valves are made, and blowpipe is tied in. When i next see Dave, we'll trim the bellows hose and the bag neck to the proper length for his requirements. So tying in the chanter stock is really the only thing left.